Food Photography 101: How to Take Mouthwatering Shots with Your Phone (for Abuja Foodies)
Hussein - AbujaEats
Food Writer & Critic
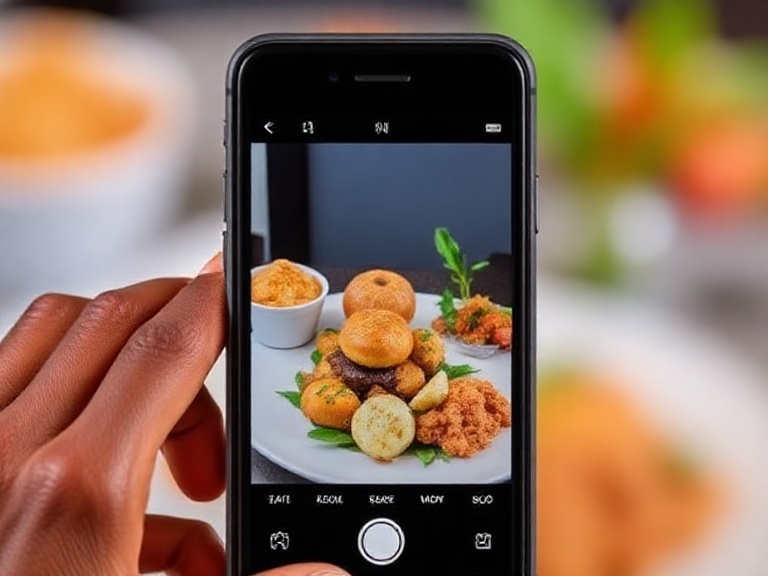
Great food deserves great photos. Whether you're documenting your Abuja food adventures for social media, building a food blog, or simply want better memories of amazing meals, smartphone food photography is an accessible skill anyone can master. This guide teaches you everything needed to capture mouthwatering food photos using just your phone.
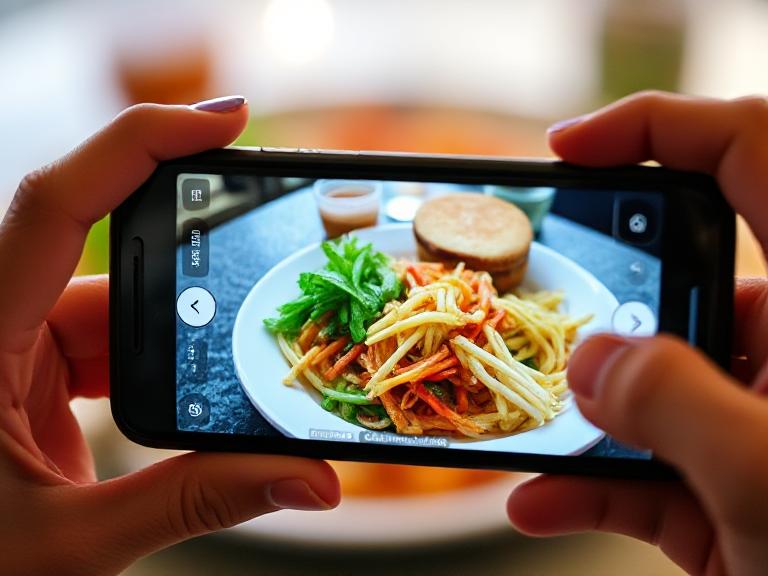
Why Food Photography Matters
Social Media: Instagram, TikTok, and Facebook reward great food photos Documentation: Build your personal food diary Sharing: Show friends and family your discoveries Influence: Good photos can help restaurants gain customers Memories: Capture special meals and moments
Lighting: The Most Important Element
Natural Light is Your Best Friend
Window Light: Sit near windows in restaurants Indirect Sunlight: Avoid harsh direct sun Overcast Days: Provide soft, even lighting Golden Hour: Hour after sunrise or before sunset
Avoiding Bad Lighting
Overhead Fluorescent: Creates harsh shadows and color casts Direct Flash: Flattens food and creates glare Mixed Lighting: Different light sources create color issues Too Dark: Underexposed photos look unappetizing
Restaurant Lighting Strategies
Choose Your Seat: Request window seats or well-lit areas Supplement: Use phone flashlight as fill light (not main light) Timing: Lunch often has better natural light than dinner Work With It: Sometimes moody lighting creates atmosphere
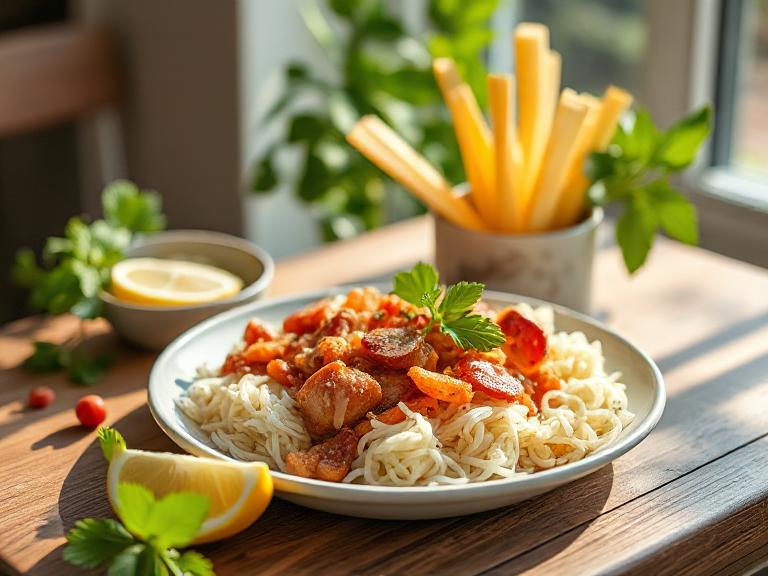
Composition Basics
The Rule of Thirds
Grid Method: Enable grid on camera Placement: Place main subject at intersection points Balance: Distribute visual weight across frame Interest: Off-center creates more dynamic photos
Angles That Work
45-Degree Angle: Most versatile, shows depth Overhead (Flat Lay): Great for multiple dishes or table spreads Eye Level: Works for burgers, sandwiches, tall items Low Angle: Emphasizes height and layers
What to Include
Main Subject: The star dish should dominate Supporting Elements: Drinks, sides, utensils add context Negative Space: Don't fill every inch of frame Hands: Including hands adds human element
What to Avoid
Clutter: Remove unnecessary items from background Distractions: Check for trash, dirty dishes, phones Too Much: Don't try to fit everything in one shot Boring Backgrounds: Plain walls can be dull
Styling Your Food Photos
Quick Styling Tips
Fresh is Best: Photograph food immediately when served Garnish Matters: Fresh herbs, lime wedges add color Height: Stack or arrange for visual interest Texture: Show crispy, creamy, juicy elements Color Contrast: Colorful elements make photos pop
Props and Elements
Utensils: Fork mid-bite, spoon in soup Drinks: Beverages add color and context Napkins: Cloth napkins add texture Plates: Interesting plates enhance photos Backgrounds: Wooden tables, textured surfaces work well
The "Action Shot"
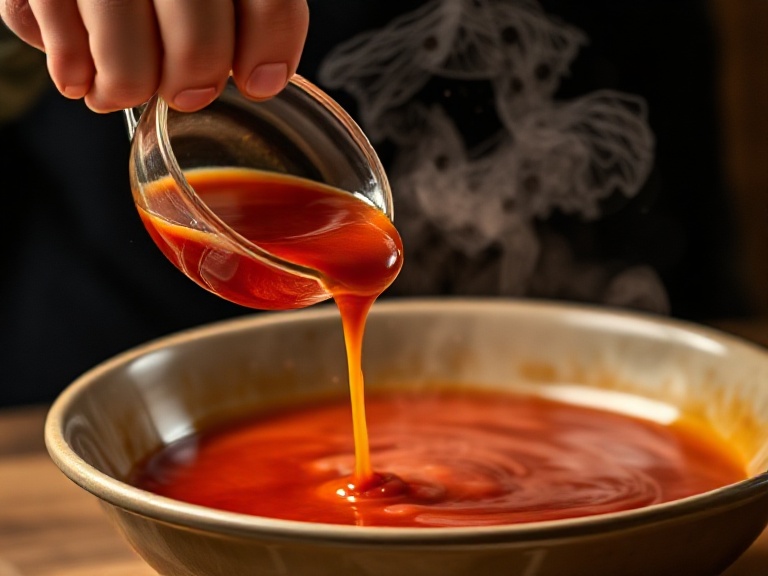
Pouring: Sauce being poured, drinks being filled Cutting: Knife cutting into food Dipping: Food being dipped in sauce Steam: Capture rising steam from hot food Bite: Food with bite taken out shows texture
Camera Settings and Techniques
Phone Camera Basics
Focus: Tap screen where you want focus Exposure: Slide up/down to adjust brightness HDR: Use for high-contrast scenes Portrait Mode: Creates background blur (bokeh) Grid: Enable for composition help
Advanced Techniques
Manual Controls: Use pro mode if available RAW Format: Captures more data for editing Burst Mode: Multiple shots increase chances of perfect one Timer: Avoid camera shake Zoom: Use digital zoom sparingly (degrades quality)
Common Mistakes
Too Much Zoom: Degrades image quality Wrong Focus: Blurry main subject Overexposure: Blown-out highlights Underexposure: Too dark, muddy colors Camera Shake: Blurry from hand movement
Editing Your Food Photos
Basic Adjustments
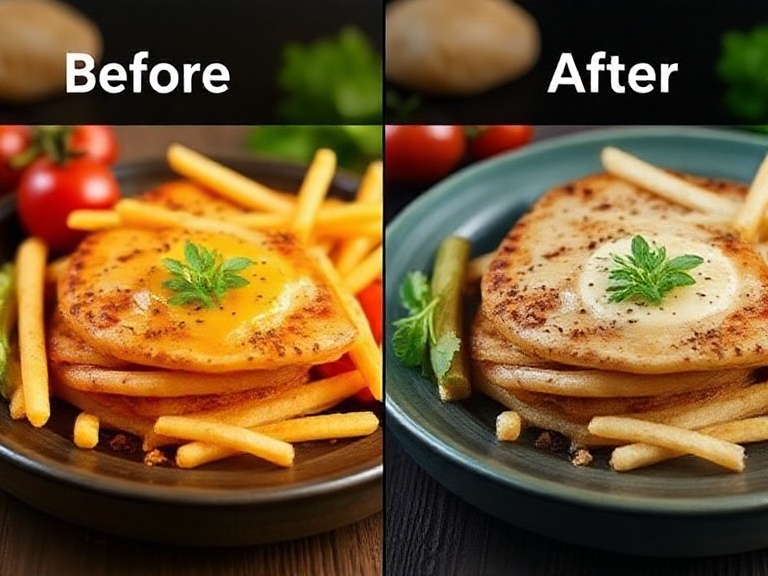
Brightness: Make food look fresh and appetizing Contrast: Add depth and dimension Saturation: Enhance colors (don't overdo) Sharpness: Bring out details and textures Warmth: Adjust color temperature
Recommended Apps
Free Options:
- Snapseed (powerful, free)
- VSCO (filters and editing)
- Lightroom Mobile (professional tools)
- Instagram (built-in editing)
Paid Options:
- Adobe Lightroom (subscription)
- Afterlight (one-time purchase)
- Foodie (designed for food photos)
Editing Workflow
- Straighten: Ensure level horizon
- Crop: Improve composition
- Exposure: Adjust brightness
- Contrast: Add depth
- Saturation: Enhance colors
- Sharpen: Bring out details
- Filters: Apply subtle presets if desired
What Not to Do
Over-Saturation: Unrealistic, neon colors Too Much Contrast: Loses detail in shadows/highlights Heavy Filters: Obscure the actual food Over-Sharpening: Creates halos and artifacts Fake Colors: Food should look edible
Specific Food Types
Jollof Rice and Rice Dishes
Angle: 45-degree or overhead Focus: Show texture of rice Styling: Add protein, plantains for color Lighting: Avoid making it look dry
Soups and Stews
Angle: 45-degree to show depth Focus: Capture steam if possible Styling: Show ingredients, not just liquid Props: Spoon, swallow on side
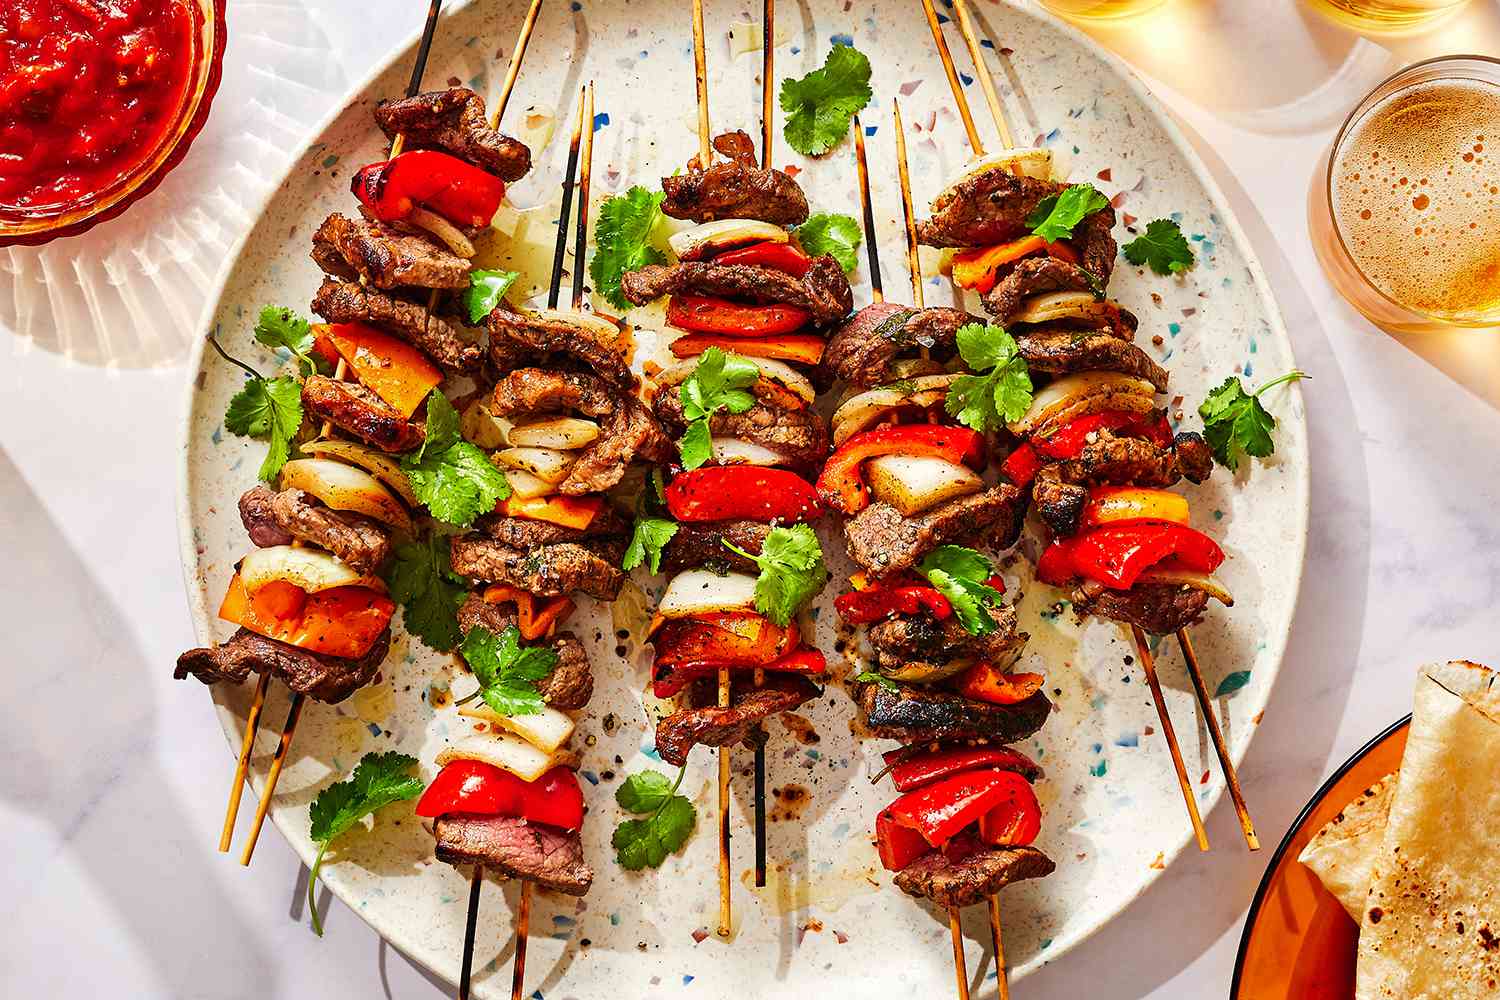
Suya and Grilled Meats
Angle: Eye level or 45-degree Focus: Show char marks and texture Styling: Include onions, peppers Lighting: Emphasize texture
Drinks and Cocktails
Angle: Eye level Focus: Condensation, garnishes Styling: Full glass, fresh garnish Background: Simple, uncluttered
Desserts
Angle: Any angle works Focus: Texture (creamy, flaky, etc.) Styling: Show layers, toppings Lighting: Soft light shows detail
Restaurant Photography Etiquette
Do's
Be Quick: Don't let food get cold Be Discreet: Don't disturb other diners Natural Light: Use available light when possible Ask Permission: Some restaurants prohibit photography Share Credit: Tag restaurants on social media
Don'ts
Flash: Disturbs others and ruins photos Standing: Don't stand on chairs or tables Blocking: Don't obstruct servers or other diners Rearranging: Don't move restaurant furniture Excessive Time: Don't spend 20 minutes photographing
Building Your Food Photography Style
Finding Your Voice
Consistency: Develop recognizable style Color Palette: Warm, cool, or neutral tones Composition: Signature angles or arrangements Editing: Consistent editing approach Subject Matter: What foods you focus on
Inspiration Sources
Instagram: Follow food photographers Pinterest: Create inspiration boards Food Magazines: Study professional photos Other Bloggers: Learn from successful creators Practice: Your own experiments teach most
Creating a Portfolio
Best Work: Curate your top photos Variety: Show different foods and styles Consistency: Maintain cohesive aesthetic Quality: Better to have fewer great photos than many mediocre ones
Social Media Strategy
Instagram Tips
Hashtags: Use relevant Abuja food hashtags Captions: Tell story behind the photo Timing: Post when audience is active Engagement: Respond to comments Stories: Share behind-the-scenes
Hashtag Suggestions
- #AbujaEats
- #AbujaFoodie
- #NaijaFood
- #FoodPhotography
- #NigerianCuisine
- #AbujaRestaurants
- #FoodBlogger
- Restaurant-specific hashtags
Growing Your Following
Consistency: Post regularly Quality: Maintain high standards Engagement: Interact with community Collaboration: Work with restaurants Authenticity: Be genuine in recommendations
Advanced Techniques
Creating Flat Lays
Setup: Arrange multiple items overhead Balance: Distribute visual weight evenly Story: Create narrative with props Lighting: Even, diffused light essential
Using Props Effectively
Minimal: Less is often more Relevant: Props should make sense Quality: Nice props elevate photos Color: Coordinate with food colors
Capturing Steam and Movement
Timing: Shoot immediately when served Angle: Position to catch steam Background: Dark backgrounds show steam better Patience: May take multiple attempts
Low-Light Photography
Steady Hands: Brace phone or use surface Increase Exposure: Brighten in editing ISO: Higher ISO if available (adds grain) Accept Limitations: Some situations too dark
Equipment Beyond Your Phone
Optional Accessories
Tripod: Stabilizes phone for sharp photos External Lens: Wide-angle or macro options Reflector: Bounce light onto food Remote Shutter: Avoid camera shake Portable Light: Small LED for dark restaurants
When to Upgrade
Serious Blogging: Consider real camera Professional Work: DSLR or mirrorless Most People: Phone is sufficient Investment: Only if passionate and committed
Practice Exercises
Week 1: Lighting
- Photograph same dish in different lighting
- Compare results
- Identify best lighting conditions
Week 2: Angles
- Shoot same food from all angles
- Determine what works best
- Practice consistency
Week 3: Styling
- Experiment with props and arrangements
- Try different compositions
- Develop personal style
Week 4: Editing
- Edit same photo multiple ways
- Find preferred editing style
- Create presets for consistency
Common Problems and Solutions
Problem: Photos look flat Solution: Increase contrast, shoot at 45-degree angle
Problem: Colors look dull Solution: Adjust white balance, increase saturation slightly
Problem: Blurry photos Solution: Ensure good lighting, steady hands, tap to focus
Problem: Food looks unappetizing Solution: Shoot immediately when served, improve lighting
Problem: Boring composition Solution: Try different angles, add props, use negative space
Your Food Photography Journey
Food photography is a skill that improves with practice. Start with these basics, experiment constantly, and develop your unique style. Every meal is an opportunity to practice, and Abuja's diverse food scene provides endless subjects.
Don't get discouraged by early attempts. Even professional food photographers started with basic phone photos. The difference between amateur and great food photography is practice, attention to detail, and understanding these fundamental principles.
Your Abuja food adventures deserve to be captured beautifully. With these techniques, your phone, and practice, you'll create mouthwatering photos that do justice to the amazing meals you discover.
Now get out there and start shooting! Your next great food photo is just a meal away.
Share your Abuja food photos with us! Follow AbujaEats and tag your best shots for a chance to be featured. Let's celebrate Abuja's food scene together through beautiful photography.
Never Miss a Food Review
Join our community of food lovers and get weekly restaurant recommendations, exclusive dining tips, and the latest food news in Abuja.
Own a Restaurant in Abuja?
Get featured on AbujaEats and reach food lovers across the city.
List Your Restaurant